Installation Guide
Vive Pro Wireless VR
Unboxing
Everything in the box, and bits that you won’t need.
Installation
Step by Step detailed guide to wireless Vive Pro VR
Usage
Your new wireless way to play, and what HTC forgot to tell you.
Wireless Games
Our Top 3 games played better wireless
Curatorial Affairs
Jun 3 – Sept 14
A History of Pottery
Jun 3 – Sept 14
Black & White
Jun 3 – Sept 14
#1 - Open Up PC
Installing the wireless card which communicates with the Wireless device means getting into the guts of your PC. Here’s what it might look like. You are looking for a spare PCIe slot to take the Wireless Adapter.
#3 - Install PCIe WiGig Card
With the PC power supply disconnected, align the card with the slot and push it home firmly. The panel can then be screwed to the rear of the case. There’s nothing more to do here, so put the case cover back on and grab the wireless link box for the next step.
#5 - WiGig Card Connection to Link Box
Connecting the cable to the card is a simple case of holding the connector in place then screwing it hand tight. It’s a tool-less connection.
#6 - Mounting the monitor Clip
This was perhaps one of the most fiddely parts of the exercise! Depending on the shape of your monitor, the clip may slide up at the rear which has the negative effect of pointing the link box downwards.
You can see the problem with this monitor as it has a bevelled case on the rear which causes the clip to slip into a position where the seat is very much off level.
#7 - Placing the clip
This monitor however has a straighter back panel which allows the clip to sit more comfortably. Due to the tightness of the spring however I found the clip did still rise up a little, pointing the detector in the wrong direction.
#8 - Adjusting the Collar
#9 - HMD Velcro removal
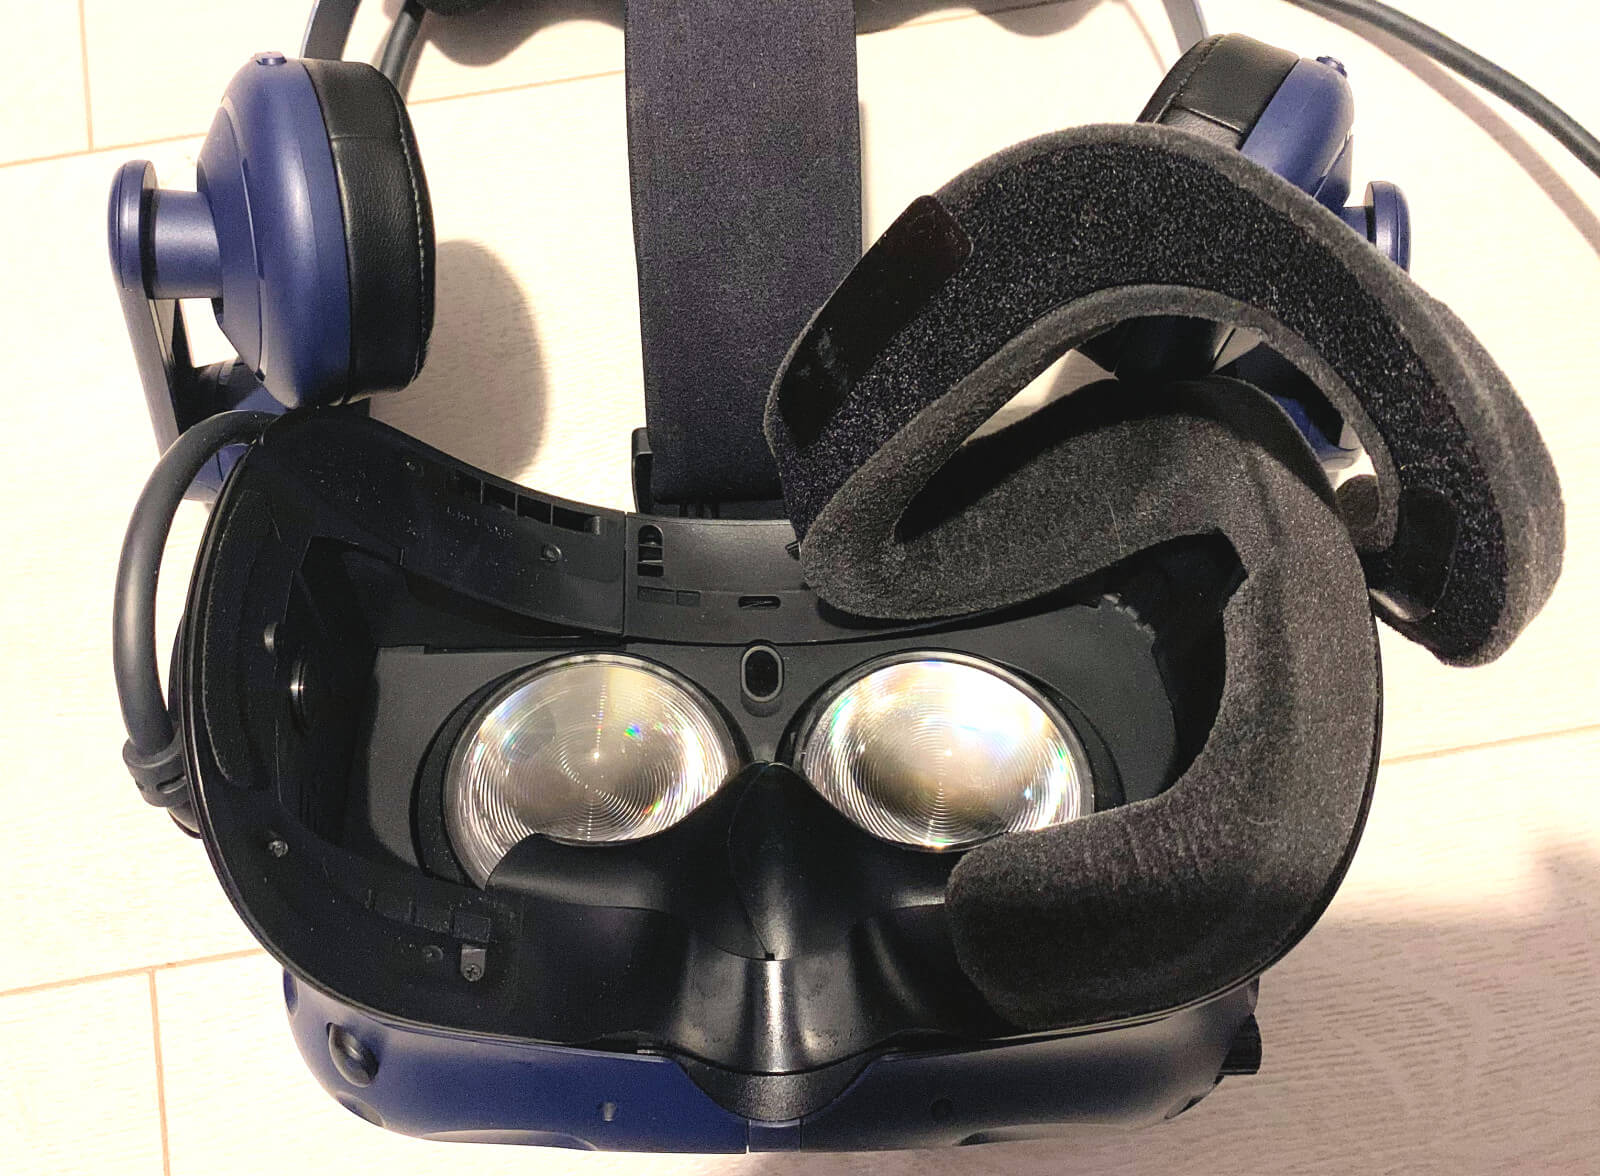
Now we get to what is probably the most nerve racking part of the wireless upgrade – HMD cable upgrade. First of all, gently ease off the velcro padding around the headset.
#10 - Cover Plate Removal
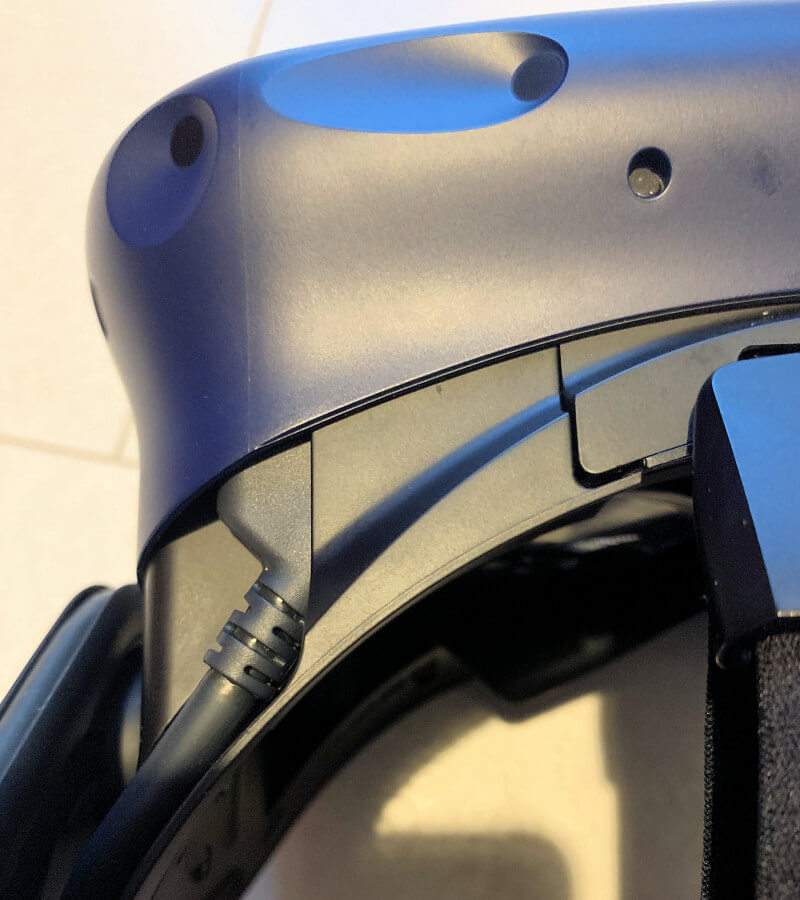
#11 - Replace the cable
Pull out the existing cable and replace it with the new shorter version that will plug into the wireless unit once it is fitted to the top of the headset. Refit the cover – and it should look like this.
#13 - Insert the Vive Pro Clip
Here you can see the old clip is removed and the new clip is ready to be fixed in place. Unfasten the velcro strips on the Vive Pro clip and screw it in place.
On mine, there were two tiny washers rather than a single one on one of the screws. This made it impossible to screw it in until I realised there was an extra washer on the screw.
#15 - replace hmd foam pad
Now the foam padding has to be removed and replaced with a larger pad that can hold the Wireless unit in place.
Here you can see the new larger piece ready to replace the existing foam on the back of the headset.
#17 - FIT WIRELESS DEVICE
Now all that’s left to do is make the two connections shown. The connection on the left is the other end of the cable fitted to the front of the unit in Step #11. The smaller cable on the left connects to the batttery, which you can clip to your pocket when playing.
You did start the battery charging before you started the assembly – didn’t you? It needs a full charge (4 bars) before the first usage, and usually arrives with only a 50% charge. It can take a few hours to charge up fully.
#18 - extra cables
We are almost finished with the hardware upgrade and ready to move onto the software. Before we do though – you might notice you still have some cables left over.
These are to connect the original vive for a wired connection, and are not of any use for the Vive Pro, so these can be placed back in the box.
#20 – Battery Holder
Here’s something that the Vive Pro Wireless instructions forget to tell you, but will save your battery from flying across the floor – like mine did.

#20 - Breakout Box
So you may be wondering what to do with the original breakout box, it looks a little useless without the now discarded HDMI cable plugged in.
Don’t disconnect it just yet though, there are a couple of reasons you might like to leave it occupying a USB slot and taking up a plug socket. Firstly, if you like your base stations to power down automatically when you quit SteamVR, they will still need the Bluetooth signal from this link box.
Secondly, if you like to do you firmware updates over bluetooth, the linkbox will be required to send the signal.
For those two reasons, I left my plugged in – it’s a personal choice though.
Now that you are all connected up and raring to go, here’s a run down on your new launch procedure for wireless gaming.
Wait, there’s a launch procedure?
In my experience there is! If wireless VR is started in the wrong order, you can end up with some frustrating game stopping effects such as the HMD not displaying an image, the base stations not starting up, or the wireless failing to connect.
To avoid these frustrations, I eventually found that the following steps had to be carried out in this exact order – otherwise I would not be VR gaming.
1. If you are using the original breakout box to manage the base stations, make sure it is switched on.
2. Connect the wireless battery pack, switch it on.
3. Click the HTC logo on the HMD mounted wireless device to switch it on.
4. Now on your PC start up the Vive Wireless App. I like to have it docked on the taskbar for simplicity.
5. Now open Steam and click on the SteamVR button at the top right.
Your base stations should now whir into action, and the HMD should be recognised and display a green light on the side of the headset.
Hopefully this 5 step routine helps new Vive wireless gamers as it took me some frustration and a few re-starts before I realised this was the easy solution to a gauranteed no-nonsense wireless VR gaming session.
.
Vive Pro Wireless
BEST WIRELESS GAMES
VR GAMES THAT WORK BEST WIRELESS
Now that you are up and running with wireless VR, you’ll be keen to know which games are best played wireless. For me this was an easy list to compile because I just had to think of the games that caused me the most frustration being tethered with a HDMI cable to the PC’s breakout box. Be sure to let me know if I have missed any games that are best suited to untethered play, in the meantime, here’s my Top 3 VR wireless Playlist, in no specific order.
1. Racket NX is a single/multiplayer game that places the player in the middle of a domed play area where the ball can come at him from any angle. As this involved turning through 360 degrees, playing this otherwise excellent game tethered was an absolute nightmare. Cable management apps were even developed to help players untwist themselves from the tangled mess of cables that result from playing Racket NX. But all this is resolved with wireless VR gaming, leaving a solid workout game that can also be played competitively online.
2. Holopoint is a bow and arrow game where the player is static in the middle of the pay area, and attacked from all sides either by exploding cubes and samurai warriors. This game arguable requires even faster reflexes than Racket NX as the player is continually turning through 180 degrees to repel the targets. This is a great workout game which truly benefits from wireless play.
3. The Thrill of the Fight differs from Racket NX and Holopoint in that it requires the player to use the play space to avoid incoming blows and encourages more movement. Play this while tethered was more than frustrating,m it could be quite dangerous, risking the headset being pulled off the head when the cable was at its maximum reach. Playing wireless however is a revolution, and changes the way the player can play the game and interact with the opponent in a much more realistic manner.
Let us know your favourite game that was transformed by playing wireless.


